A great way to get started with runtime security in your Kubernetes environments is using Tracee, an open source runtime security and forensics tool for Linux. But as with any alerting and monitoring service, it’s necessary to send alerts to a central point to help operations teams keep track of what’s happening across their environments. Following on from our last post on Tracee’s installation on Kubernetes, once Tracee is up and running, Postee can be used to configure those locations to which Tracee alerts are sent.
Installing Postee
In a cluster with Tracee already installed, we can set up Postee using a couple of Kubernetes manifests. First, clone the Postee GitHub repository down to a local machine.
git clone https://github.com/aquasecurity/postee.git
With the code available, first apply the persistent volume manifest (only necessary for on-premises clusters):
kubectl create -f postee/deploy/kubernetes/hostPath/postee-pv.yaml
Then apply the main Postee manifest:
kubectl create -f postee/deploy/kubernetes/postee.yaml
After you’ve applied the manifests, there should be a set of Postee resources in the Kubernetes namespace.

It’s also possible to run the manifests directly from the Github repository if you don’t want to clone it down to your machine, using these commands:
kubectl create -f https://raw.githubusercontent.com/aquasecurity/postee/main/deploy/kubernetes/hostPath/postee-pv.yaml
and
kubectl create -f https://raw.githubusercontent.com/aquasecurity/postee/main/deploy/kubernetes/postee.yam
Configuring Postee
With Postee installed and running, the next step is to configure a destination to which alerts will be sent.
Postee provides multiple ways to configure its settings. The main configuration is stored in a Kubernetes configmap object, so it can be edited either by hand or with the handy web user interface. This can be accessed via a load balancer, where available, or using a port-forward directly to the pod.
For this demonstration, we’ll use the web interface.

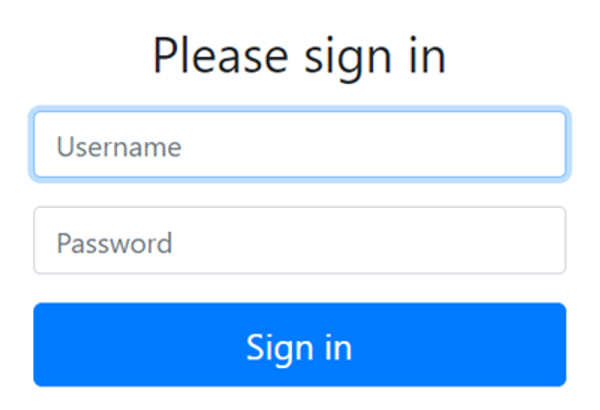
After supplying the default login (demo/demo), the main Postee screen is shown.

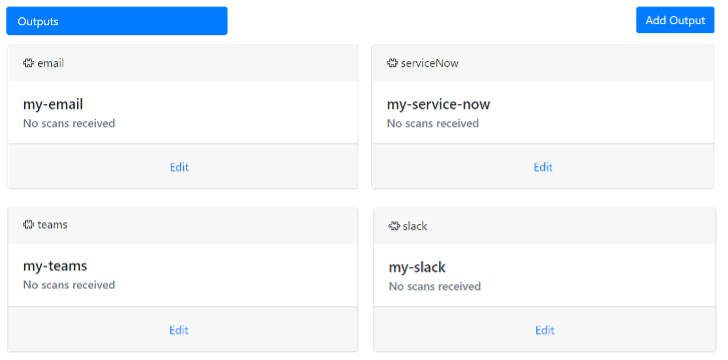
To configure alerting, for example, to Slack via Postee, there are a couple of areas to fill in. Firstly, the output for the alert needs to be configured. This demo uses a Slack webhook as shown (in redacted form) below:

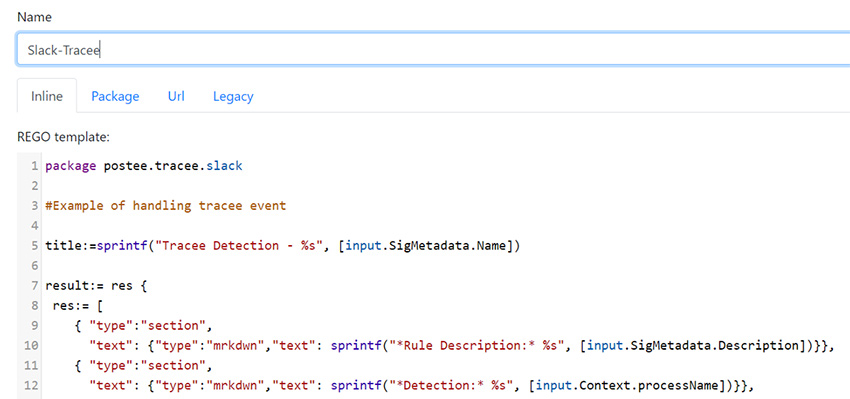
After that has been configured and tested, the template used to format Tracee messages for Slack should be added to the templates section in the Postee UI. Find the rego template on Github.

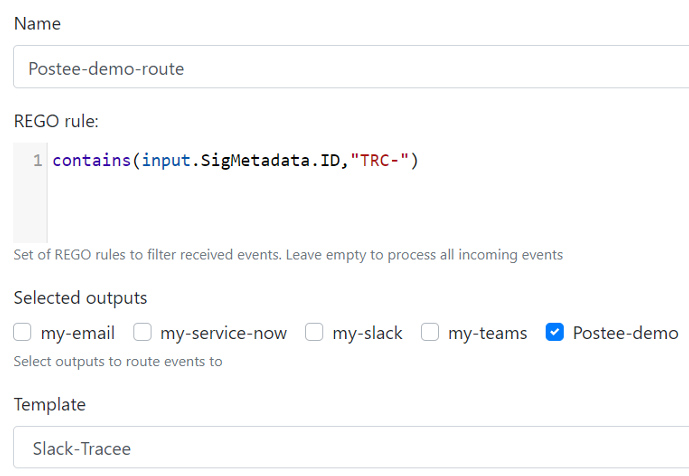
Lastly, a route needs to be configured so that messages from Tracee will be sent via this route to Slack. The rego rule in this section defines what messages will be sent using this route, and the source for it is available in instructions on Postee Route Configuration.

With the output, route and template configured, alerts should now be seen arriving directly to Slack.

Conclusion
Having an effective runtime security system is about more than just creating alerts. It needs to be integrated into an effective solution that will allow security and DevOps professionals to react to security threats to their environments in real time. With Postee, it’s possible to ensure that alerts are routed as necessary to the systems the organization uses for tracking potentially malicious activity.
Of course, out-of-the-box alerts will never be an exact match for an organization’s needs, so in the next part of this series we’ll look at how to customize or add new rules to Tracee’s in-built rule set.

